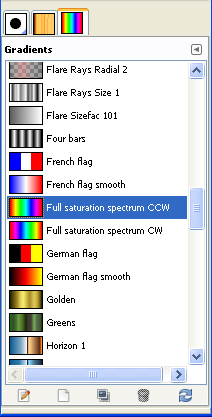
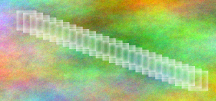
This one uses a gradient. In the Layers, Channels, Paths, ... panel select Gradients (near the bottom: choose the rainbow-like tab). Select the type of gradient you would like. In the paintbrush information area at the bottom of the Toolbox, check the box "Use color from gradient". Now draw a straight line just as before.
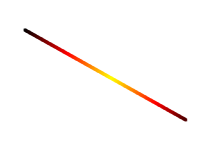
This one uses a rendered grid. One can create a grid to assist drawing using View: Show Grid, but this does not appear on the final image. To get a grid that actually appears in the final image, use Filters: Render: Pattern: Grid and then select the precise form of grid required. (Note that this dialogue panel allows altering virtually anything about the grid!). The smudge is achieved using the Smudge tool (Tools: Paint tools: Smudge, or the finger in the toolbox) with a slightly larger brush.
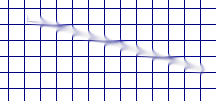
This uses the Clone tool. You can fill a line with a pattern by selecting the clone tool (from the panel (rubber stamp), or from Tools: Paint Tools: clone), and then selecting the pattern you want to use. Then draw the line as normal. Here, the source is set to "Maple Leaves" pattern.
To get this pattern, first render a plasma cloud (Filters: render: clouds: plasma), and used the Erase Tool (pink eraser in the toolbox) with a square brush.
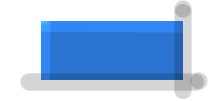
Create a blue box using the rectangle select tool, then fill it using the bucket fill tool. (To alter the foreground colour, click on the foreground colour and select the coliur you require). Then use the Dodge tool on the top and left of a blue box, then used the burn tool on the right and bottom (both dodge and burn use the same tool from the toolbox).
| < Previous | Introduction | Step 1 | Step 2 | Step 3 | Step 4 | Step 5 | Step 6 | Final | Examples | Next > |